- Wed, 11 Sep 2024
- BJB Custom Painting LLC
How to Create a Professional Look with DIY Painting Projects
Are you wondering how to create a professional look with DIY painting projects? Painting your home by yourself can save you money and offer personal satisfaction. However, achieving a polished, professional result isn’t always easy. If you’ve ever found yourself frustrated with uneven paint or streaks, you’re not alone. This blog will guide you step-by-step to ensure your next DIY painting project looks like it was done by a pro.
Steps to Achieve a Professional Finish with DIY Painting Projects
When tackling a DIY painting project, achieving a professional finish involves more than just picking the right color. The process requires proper preparation, the right tools, and specific techniques. In this section, we will cover the essential steps you need to follow to ensure your painting project looks like it was done by a professional. Here’s how to create a professional look with DIY painting projects:
Choose the Right Paint and Finish
Selecting the right paint and finish is crucial for achieving a professional look. Always choose high-quality paint that is suitable for your surface. For walls with imperfections, a matte or flat finish is often best. However, for high-traffic areas like kitchens or bathrooms, a semi-gloss or satin finish is more durable and easier to clean. Make sure to select the right type for your specific needs to ensure a smooth and consistent result.
Prep Your Surface Properly
Proper preparation is the key to a smooth and professional paint job. Start by cleaning your walls to remove dirt, dust, or grease that could affect the adhesion of the paint. Fill in any holes or cracks with a good quality filler, and sand down rough spots to create an even surface. Remember, the smoother the surface, the better the paint will look.
Invest in High-Quality Brushes and Rollers
Using high-quality brushes and rollers is essential for a professional finish. Cheap brushes can leave streaks or bristles behind, while low-quality rollers might create uneven textures. When you invest in good tools, the paint will apply more smoothly, resulting in a more polished and professional look. Look for brushes with synthetic bristles for latex paint and natural bristles for oil-based paint.
Use Painter’s Tape for Clean Lines
One of the secrets to a professional-looking paint job is clean and sharp lines. Painter’s tape is your best friend when it comes to achieving this. Apply painter’s tape along the edges, moldings, and corners to protect areas you don’t want to paint. Ensure the tape is firmly pressed down to prevent any paint from seeping through, and remove it carefully after the paint is dry.
Apply Paint in Thin, Even Coats
Applying paint in thin, even coats is a crucial step in achieving a professional appearance. Instead of trying to cover a surface in one thick coat, apply two to three thin layers. This method ensures a smoother, more even finish and helps the paint dry faster without drips or streaks. Be patient and allow each coat to dry completely before applying the next.
Use Proper Painting Techniques
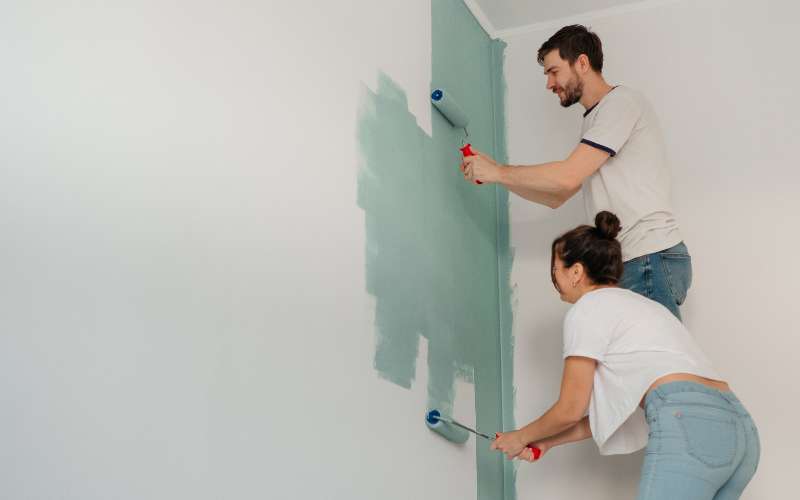
Using the correct painting techniques can make a significant difference in the final result. Start by cutting in around the edges with a brush before using a roller for the larger areas. Use long, smooth strokes with the roller, and work in small sections to keep a wet edge. This helps to blend each section seamlessly, resulting in a more professional look.
Allow Adequate Drying Time
Many DIY painters rush through the process without allowing adequate drying time between coats. This can lead to smudges, uneven textures, and a less professional finish. Follow the manufacturer’s guidelines for drying time, and ensure that each coat is fully dry before applying the next. Proper drying time is essential for a durable and polished look.
Finish with Touch-Ups and Clean-Up
After applying all the coats, carefully inspect the painted area for any imperfections or missed spots. Use a small brush for touch-ups to ensure everything looks perfect. Once the paint is completely dry, remove any painter’s tape, clean up your brushes and rollers, and step back to admire your work. A professional-looking DIY painting project is all about attention to detail, and a thorough clean-up is the final touch.
Contact Us for Professional Painting Advice
A professional-looking DIY painting project can transform your space and give it a fresh, polished appearance. By following these steps and using the right tools and techniques, you can achieve great results. If you have any questions or need expert advice, feel free to contact us today. Let’s bring your vision to life!
