- Wed, 14 Aug 2024
- BJB Custom Painting LLC
How to Repair Drywall Before Painting
Repairing drywall before painting is crucial to achieving a smooth, professional finish. Have you ever noticed how small imperfections stand out after the paint dries? This post will show you how to repair drywall before painting to ensure your walls look flawless. Whether you’re a seasoned DIYer or a first-timer, these tips will help you tackle this common home repair task with confidence.
Key Steps to Prepare Drywall for a Flawless Paint Job
When you start a painting project, repairing drywall is a critical first step. Ignoring this can lead to uneven surfaces and an unprofessional finish. In this section, we’ll walk you through each step of how to repair drywall before painting.
1) Gather Your Tools and Materials
Before starting the repair, make sure you have the right tools. You’ll need a utility knife, joint compound, drywall tape, a putty knife, and sandpaper. Having everything ready will save you time and ensure the process goes smoothly.
2) Inspect the Drywall for Damage
Take a close look at your walls. Identify any cracks, holes, or dents that need attention. Small holes from nails can be easily fixed, but larger cracks might require more effort. Remember, even the smallest imperfections can show through paint, so be thorough.
3) Prepare the Area
Clear the area around the damage. Remove any loose drywall or debris with your utility knife. Clean the surface to ensure the joint compound adheres properly. This step is important because it ensures a smooth repair.
4) Apply Joint Compound
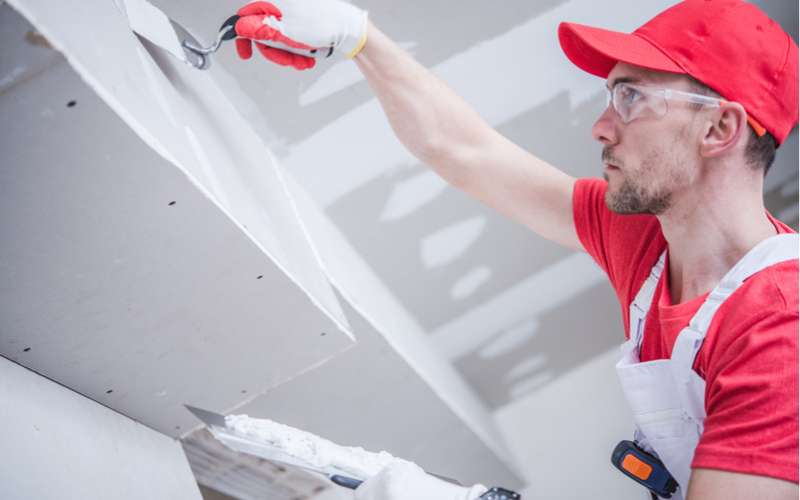
Using a putty knife, apply a thin layer of joint compound over the damaged area. If the hole is large, you may need to use drywall tape to reinforce the patch. Smooth the compound, making sure it’s level with the surrounding wall. Let it dry completely before moving on.
5) Sand the Surface Smooth
Once the compound is dry, sand the area until it’s smooth. Use fine-grit sandpaper to avoid scratching the wall. This step is crucial for achieving a seamless repair. If the surface isn’t smooth, the paint will highlight the imperfections.
6) Prime the Repaired Area
Before you paint, prime the repaired area. Primer helps the paint adhere better and ensures a consistent finish. Use a high-quality primer to cover the repaired spots. This step will prevent the patched areas from standing out once the paint is applied.
7) Check for Final Imperfections
After priming, check the wall again for any imperfections. Sometimes, small flaws can appear after the primer dries. If needed, apply a bit more joint compound, sand, and prime again. This final check ensures that your wall is perfectly smooth.
8) Ready to Paint
Now that your drywall is repaired and primed, you’re ready to start painting. Follow your usual painting routine, and enjoy the satisfaction of knowing that your walls will look flawless. Proper drywall repair is key to a professional-looking paint job.
Ready to Get Started?
Taking the time to repair drywall before painting makes a significant difference in the final outcome. If you’re ready to transform your space, don’t hesitate to contact us for expert advice or to schedule a consultation. We’re here to help you achieve the perfect finish for your walls.
